![]()


![]()
If you want to backup your old oric disks (from Microdisc or Jasmin drives) on your PC, or if you want to have those disk images (the Oric Megademo for instance) found on the web back to a real disk to use them on a real oric, it's really easy.
In fact there are two ways to do that:
The first may be more interesting if you want to use images back on a real oric (but could also be used the other way). You'll find a lot of images on the web and you'll realize that those 3" disks are not that easy to find - except if you have a friend with an old amstrad laying around. But at the same time you could well blow your microric or jasmin disk controller if you don't do it properly - believe me I have one here which went through this.
If you really want a 3.5" drive on your oric have a look at back issues of the CEO mag where they explain in deep the way to add one to your Microdisc or Jasmin Unit.
Either way the method to have oric disk read or written with your PC will be the same...
If you prefer to add a 3" drive to your PC, read below...
Here is a short list of what you'll need:
| A PC power supply Y splitter | 
|
| A Slave Microdisc Unit (a microdisc unit with no floppy controller inside) |
|
[Note: if you don't have a Microdisc Slave unit, it might be more difficult the perform the transfer. The Microdisc drives are Hitachi 3". Amstrad 6128 3" drives have different connectors (+ the mecanism might not be compatible). Maybe the Amstrad external floppy disk has a compatible connector, I don't have one to check. If you happen to have the transfer working without using an Hitachi drive let me know...].
To transfer files, you must first link your 3" drive to the PC. There are 2 ways to do it:
Depending on your choice you may have to skip some steps below. You will be warned when necessary.
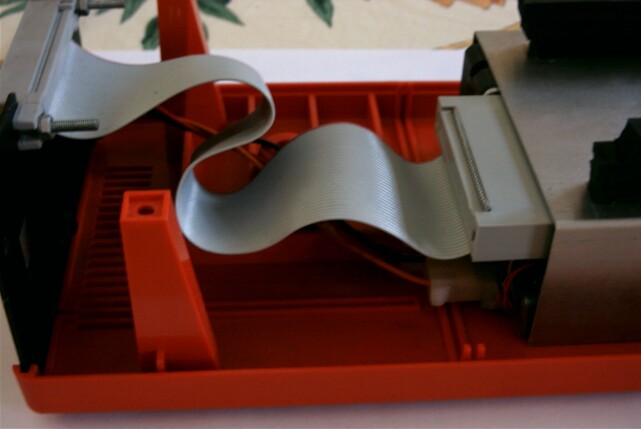
| 1 - Open your Microdisc unit (four screws under the unit) and you'll then be able to see this: [Note: if you have a pcb + another cable on top of your drive, it means it's a Microdisc Master unit, you may want to keep it safe because it's the one that is necessary to boot a disk on your real oric.] |
|
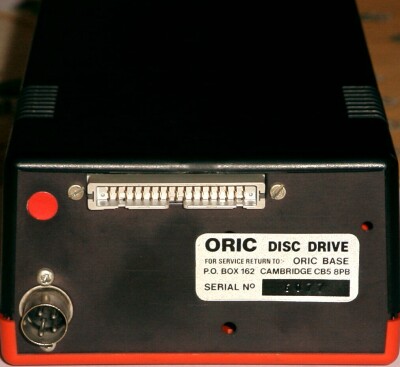
| 2 - Disconnect the power supply plug and the floppy cable and remove the 3" drive from the box (it is not secured so it should come easily). Note the 5.25-drive style connector. | 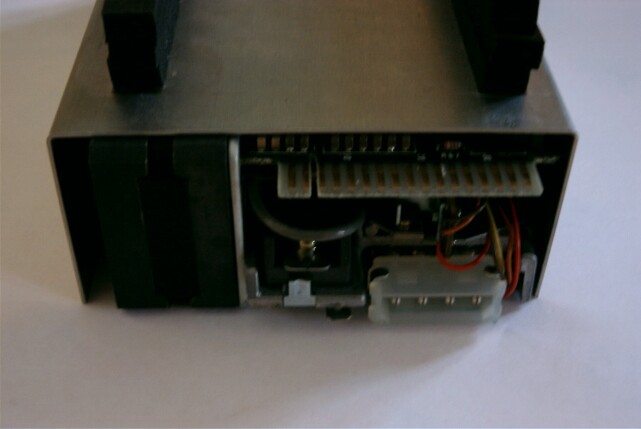
|
| 3 - Remove the 3" drive shielding (there are 2 screws, one on each side) | 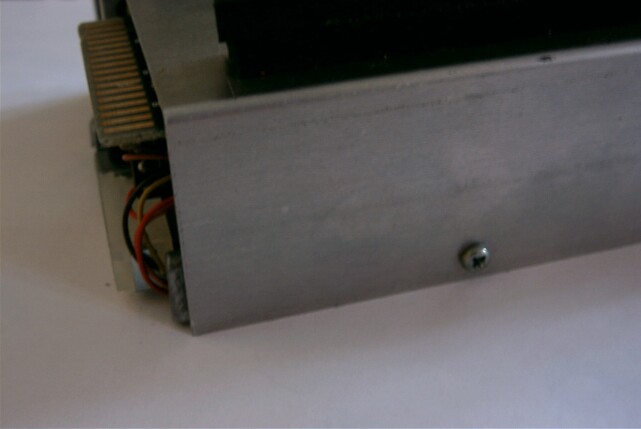
|
| 4 - Now you must configure your 3" drive (letter select). Whatever use will be made of the drive (sporadic or regular) configure it as a B: drive. Set the dipswitch 1 - On and dipswitches 0, 2 and 3 - Off. [Note: setting the switch 0 - On and 1 - Off would configure the drive as A:]. Now you can put back the drive shielding. If you have chosen the regular use jump to step 8. [Note: ordinary 3.5" drive have a B:-drive factory-set up. They are seen as A: drive on your PC because of the cable twist before the last connector] [Note: some 3" drives (other than Hitachi) need the second dipswitch group to be set up in a specific way. Since noone really knows the correct settings it is safer NOT to change the setup of this second group if your drive is ok with that way, only change the first group as on the picture...] |

|
| 5 - Plug the Y splitter into the drive power connector. | 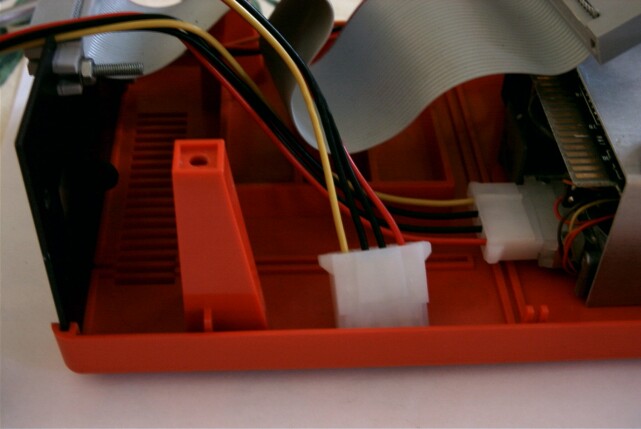
|
| 6 - Re-connect the drive to the Microdisc floppy cable. | 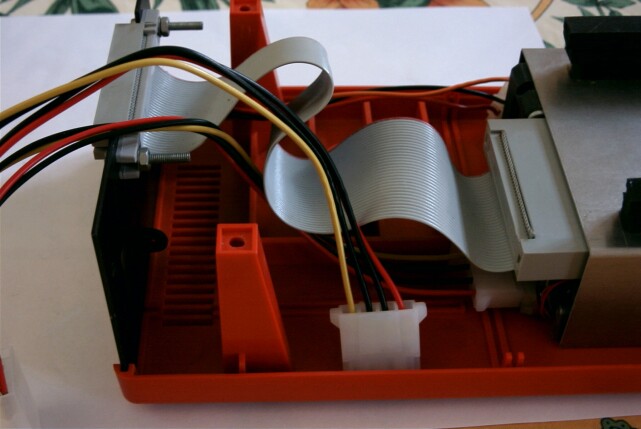
|
| 7 - You can now put back the Microdisc unit cover (hope you didn't lose the screws). When putting it back try to have the power leads going through the little space between the floppy cable connector and the top of the Microdisc box (there's room for it without having to cut the box). | 
|
| 8 - Now the easy stuff... Open your PC tower. | |
9 - You now have to connect the floppy cable to the 3" drive, it will be different depending on your sporadic or regular option.
|
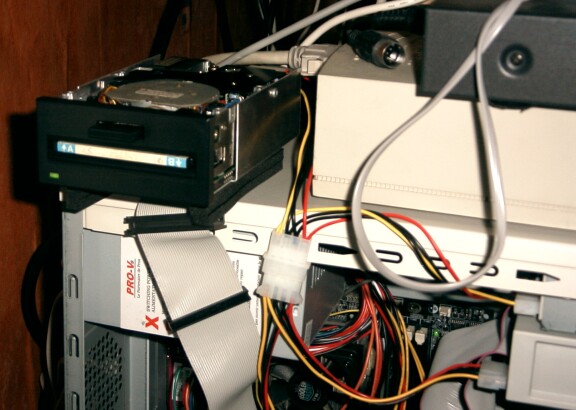 Regular top-of-the-box version |
| 10 - Switch on your PC and enter the Bios Setup. Under the Bios configure your 3" drive as a 5.25" 360ko drive (it's the A: drive if you have chosen the sporadic option or B: for regular). |
Once the setup is ok you have to transfer the files...
To do that you will have to use Readdsk and Writedsk. You can download them from Fabrice Francčs's website. You'll also find other utilities and of course the Oric emulator Euphoric...
These utilities work with with Microdisc and Jasmin disks/images without problems. But a Jasmin disk image written back to a real disk will only work on a Jasmin setup. It will be the same for a Microdisc disk image. To avoid problems (and waste of time) check the image under Euphoric, it will prevent you to write a disk without having the proper setup.
You will not have such a problem if you want to backup your oric disks on your PC since Euphoric handles both Jasmin and Microdisc disk images (but beware check Euphoric's manual to see the way to handle those images under the emulator).
Also remember that all disks are not boot-able. It means that you may have succeeded in writing back or backing up a disk without being able to boot it immediately. If it's a boot disk it will work without problems. If not you may have to boot the oric with a boot disk and then swap it with your new disk.
| 1 - Create a drawer in which you will copy both programs and the disks images you found on the internet (to be used with writedsk). | |
| 2 - Once done restart your computer in DOS mode and go to your drawer with the utilities and disk images.
[Note: you could use the utilities in a dos window but it would then be slower and not as accurate as in a pure DOS mode] |
|
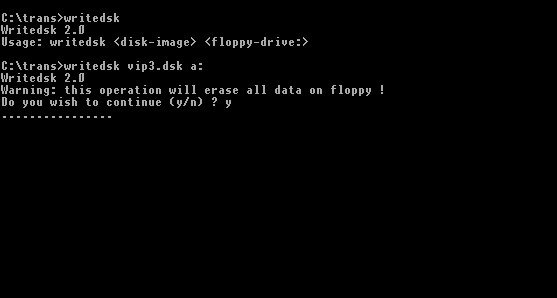
WritedskWe want to write to a real oric disk the disk image of the Oric Megademo (you can find it on oric-international.org).[Note: writedsk will only work with disk images, these are often files with the .dsk extension. It will not work with tape images, ie .tap files. If you wish to do that you must first have your files extracted from the .tap image and then have it copied in a disk image, you can use Euphoric to do that]
|
 Click to enlarge |
ReaddskYou want to backup your old oric disks to your PC tu use them under Euphoric.By the way if you find some nice programs (unknown programs, type-ins, your own programs) on these disk images of ours it would be nice to share them with the oric community. Then contact me or upload those images on Oric International's ftp.
|
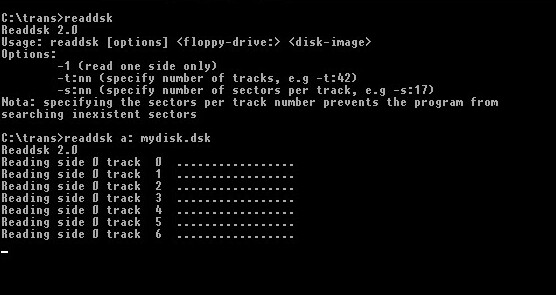 Click to enlarge |
Here you are. Enjoy...